Making a Poster
Step 1: Plan the poster
Storyboard your concept by laying out all your content ideas (text, tables and photos) in a rough draft. Determine what you want to say and in what sections. Create the content, for later cutting and pasting.
Remember this:
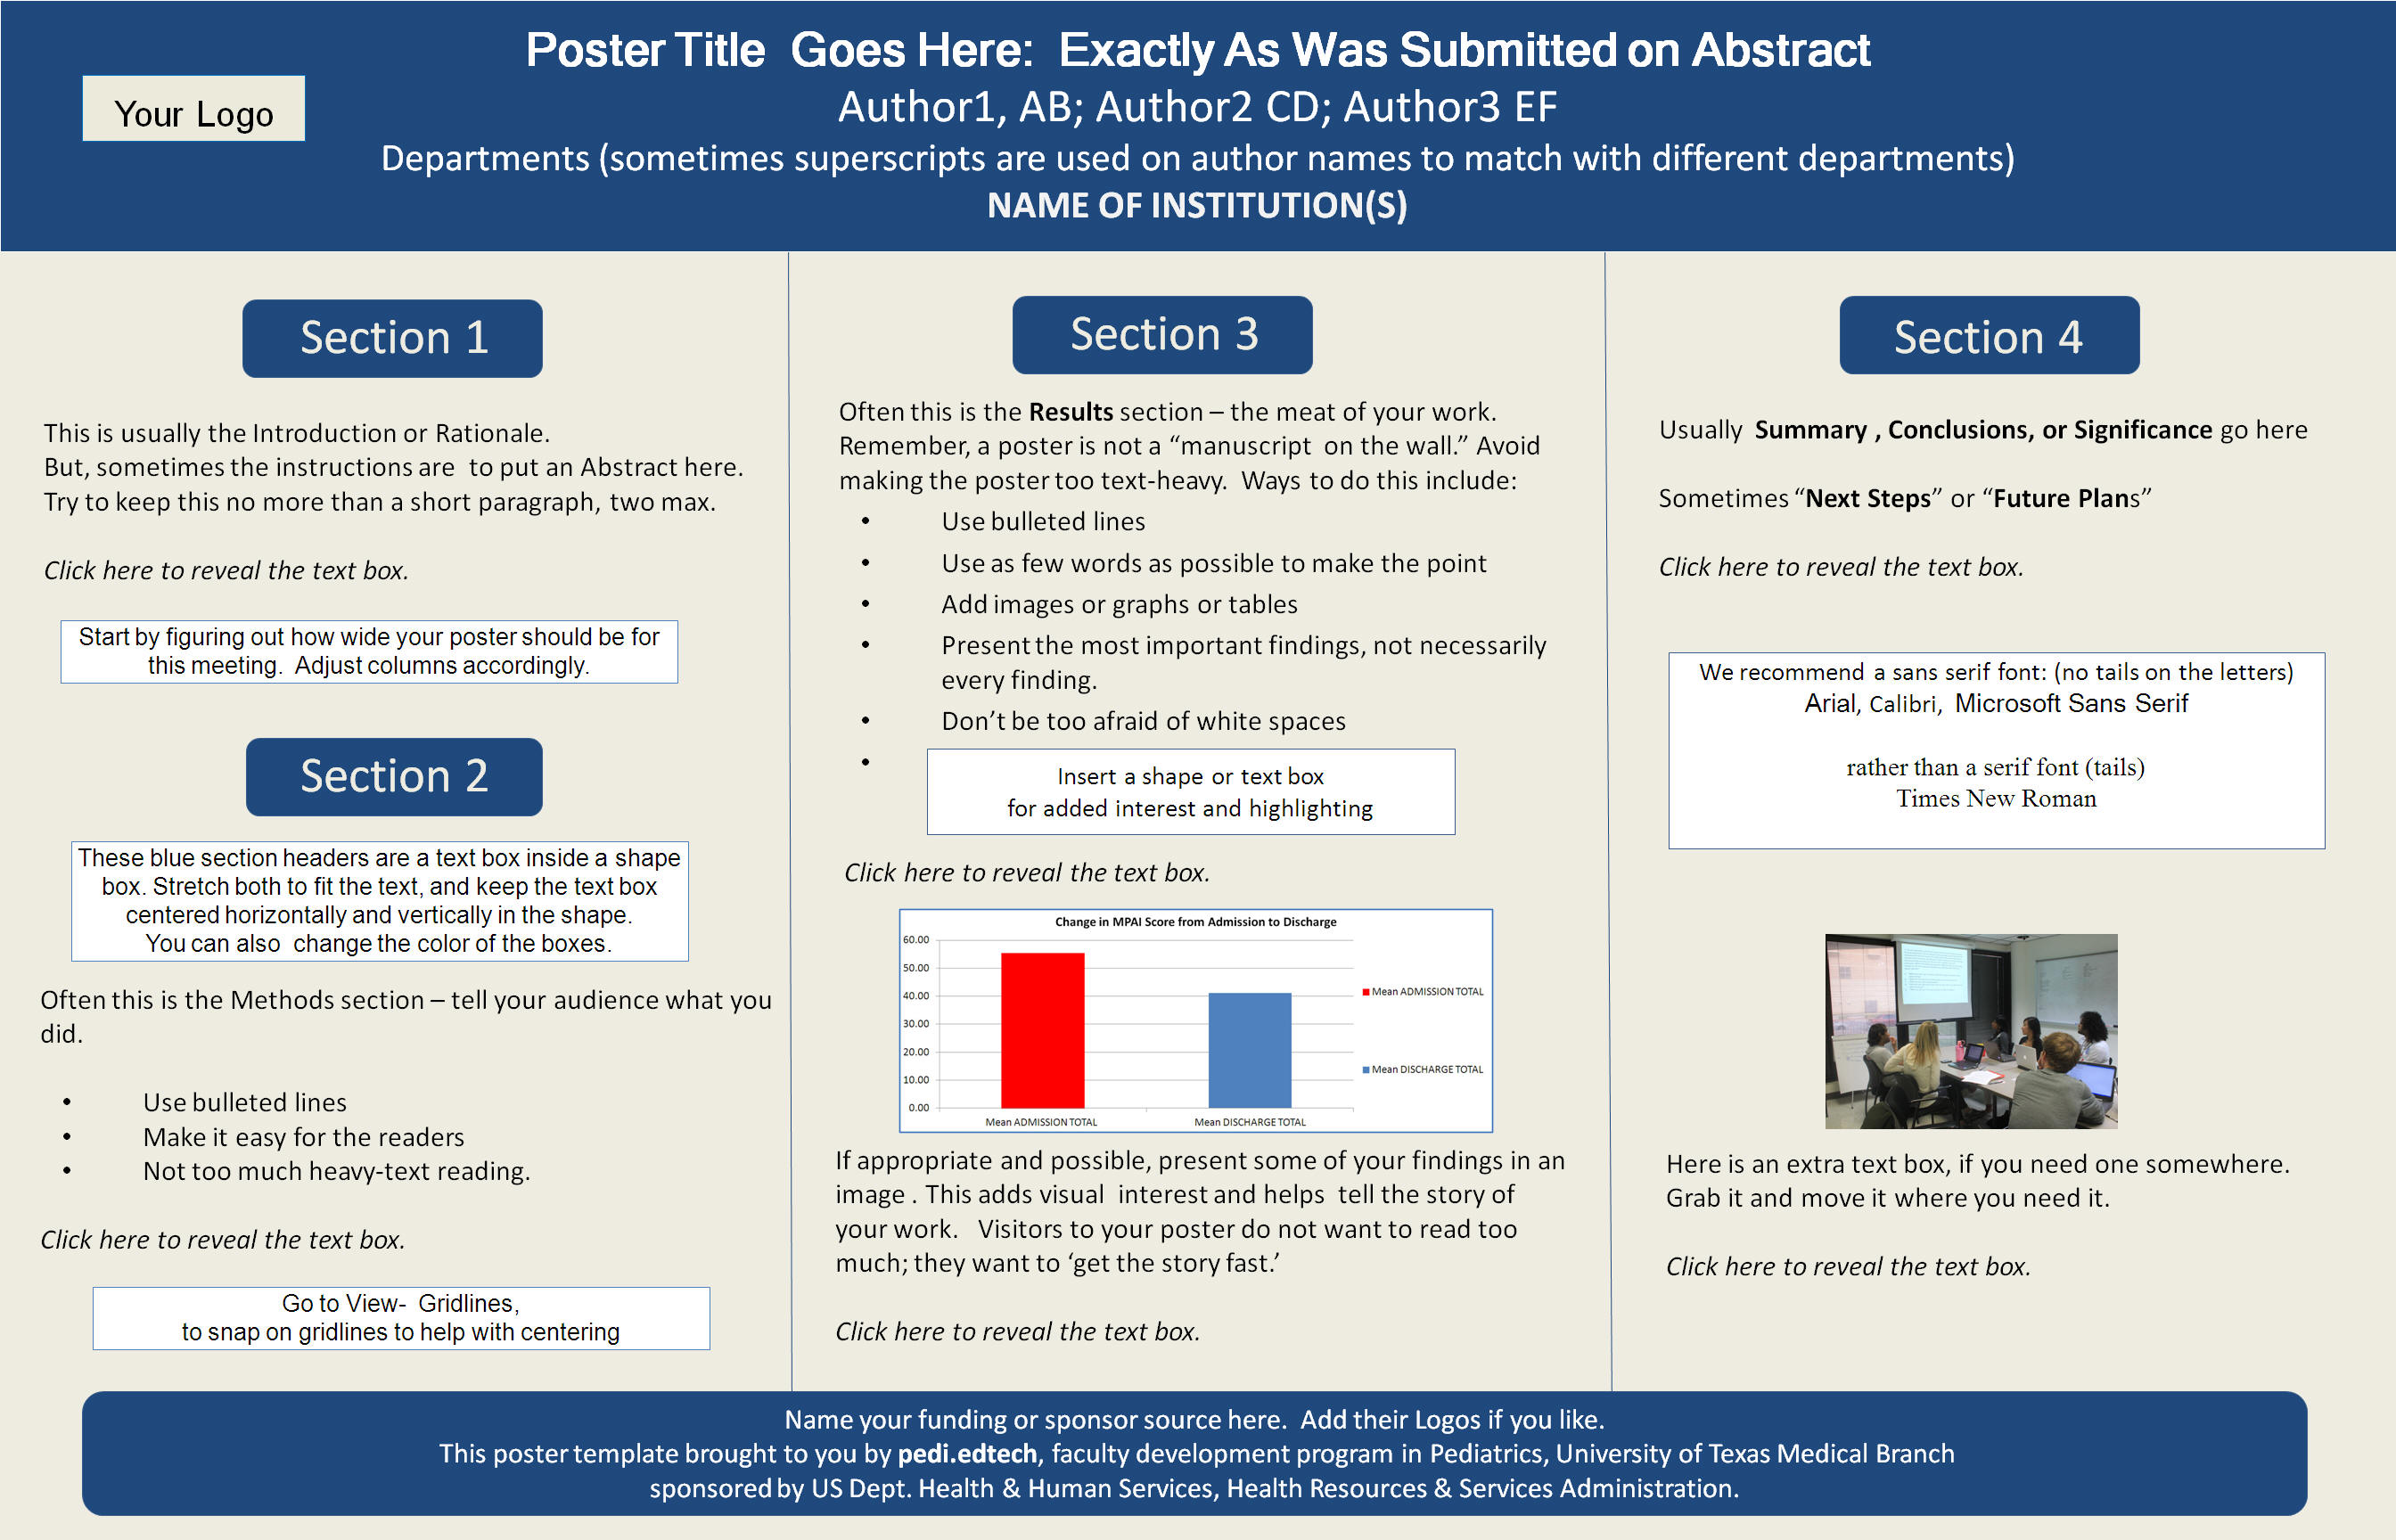
A poster is not a “manuscript on the wall."
Visitors to your poster do not want to read too much; they want to ‘get the story fast.’
Avoid making the poster too text-heavy. Ways to do this include:
Use bullet lines
Use as few words as possible to make the point
Add images or graphs or tables
Present the most important findings, not necessarily every finding.
Don’t be too afraid of white spaces
Recommended Sections are these:
Introduction or Background
Objectives or Rationale
Methods
Results
Conclusions or Future Directions
(optional) References
(optional) Acknowledgements
Remember this:
Every author on the poster must have opportunity to review the content and layout before it goes to print.
Click here for a critique checklist to help with your planning.
POSTER TIPS
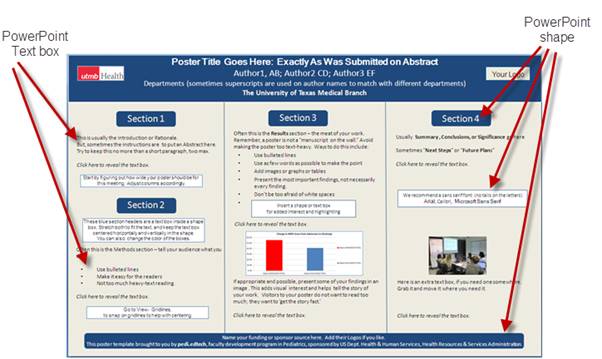
Step 2: Use PowerPoint. You can create a poster using ONE PowerPoint slide, with added textboxes, shapes and images.
2a. Start with a PowerPoint Template. There are several sources for templates:
use an old poster from a colleague - strip out the content , and add your own
there is one linked here you are welcome to use, from V. Niebuhr at Univ. of Texas Medical Branch
from University of Northern Colorado with related video
2b. Determine Poster Size.
Find out the size of the poster boards to be used at the meeting. Determine the size of the poster, according to the dimensions of the available display board and the printer options. If you have not been provided display board dimensions, ask the meeting organizers. Within PowerPoint, set the size dimensions to be compatible with the meeting's poster requirements.
Poster Size
PowerPoint Setting feet
inches
Custom Page Size
3 X 4 36 X 48 36 ht X 48 width 3 X 5
36 X 60
34 ht X 56 width
3 X 6
36 X 72
28 ht X 56 width
3 X 7
36 X 84
24 ht X 56 width
3 X 8
36 X 92
22 ht X 56 width
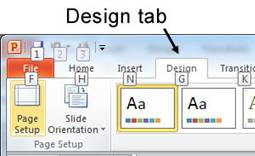
· go the Design Tab --> Page Setup --> Slides sized for --> Custom
· insert width and height. Confirm you have width and height in the right boxes. Confirm orientation (landscape vs. portrait).
In PowerPoint 2007
In PowerPoint 2010
Need a very long poster? Poster printers use different widths of paper - from 36” wide to 92” (i.e. 36” x 92”). Check your options. While a printer can print up to 92”, PowerPoint has a maximum page size of 56”x56”. If you want a poster larger than 56” length, create your poster at half-size, then print at 200% size (e.g., for a 40” x 80” poster, set poster size to 20" by 40", then print at 200%).
2c. Add Content
It is perhaps easiest to create your text content in Word, then cut and paste into boxes on the PowerPoint slide.
Once again... "A poster is not a “manuscript on the wall.”
Title: Use the same title that was submitted in the abstract.
Footers: Footers are a good place to give credit to a funding source
Centering and Alignment: In PowerPoint, go to View --> Gridlines, to snap on gridlines to help with centering vertically and horizontally.
2d. Font
Make a decision about font. There is some research to suggest that sans serif font (without tails) is easier to read in a poster format.
sans serif
serif
· Arial
· Microsoft sans serif
· Calibri
Times New Roman
Georgia
2e. Choosing Colors
Posters work best with contrast – either a light background with dark print, or a dark background with light print, A third color can be used to highlight key content or for borders. Avoid using too many colors in a poster.
2f. Adding images
· Add your institutional logo
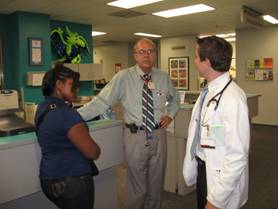
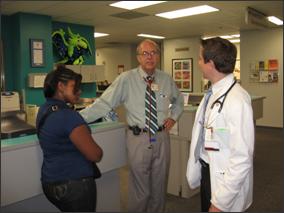
· Put borders on images. Even if it is a subtle color, it makes the image appear crisper. Compare these:
no border
border
Step 3: Review the Poster
Be aware that the extreme size of poster output affects the resolution. A poster can look great on an 8 x11 piece of paper or computer monitor, but may look very different in a poster size scale.
Review both for detail and the big picture. Use the Zoom to look carefully at every section of the poster. Once you have made all the little corrections up close, zoom back out to review the poster again as a whole document. Better yet, project the PowerPoint slide on a screen or wall so you can see the whole poster LARGE.
Check for consistent formatting:
spacing
box sizes
border width
Spacing and alignment often change when the poster is printed from a different computer, so be sure to check the proofs carefully before making the final full-size print.
You may want to revisit the critique checklist to help with your review.
Once again:
Every author on the poster must have opportunity to review the content and layout before it goes to print.
Step 4: Print
When choosing paper quality, consider the following:
- one-time or multiple use poster?
- possibilities for glare?
- how will the poster be attached to display?
To print at UTMB Academic Resources, go here for costs and online order form:
Printing posters at UTMB - Order Large Color Output
Note: You must provide FRS number (account number) to which the project will be billed.
More Poster Tips
Designing Effective Posters from Univ. of North Carolina Health Sciences Library.
This site provides step-by-step directions to edit a PowerPoint Poster Template, using either PowerPoint 2010, PowerPoint 2007, or PowerPoint 2011 for Macintosh.
Developed by Virginia Niebuhr (University of Texas Medical Branch) for pedi.edtech and for the Academic Pediatric Association Educational Scholars Program.
Acknowledgements
to Mary Jo Urbani (Univ. of Texas Medical Branch) for help with graphics and editing
to J. Lindsey Lane (University of Colorado Anschutz Medical Campus) for her contribution to the critique checklist, and to Constance Baldwin (University of Rochester) for help with editing.
to Ann Rudnicki (Univ. of Texas Medical Branch) for the tutorial on logo editing
c. 2014