Sitefinity How-tos
Learn how to create templates and layouts
Templates
Create and Edit templates
A template is branded with the UTMB logo and has been designed to meet institutional brand standards. The front-end template framework is built using modern web standards and best practices including HTML5 semantic mark-up, mobile-first responsive design and special attention to accessibility requirements.
-
Page & Template Sections
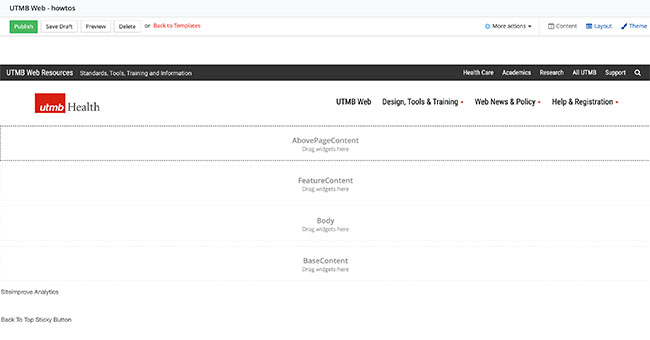
Pages and templates are divided into these four main sections:
Above Page Content
- Directly below the top navigation and above the breadcrumbs
- Expands the entire width of the screen
- Common uses: alert, callout, wide images
Feature Content
- Below the above page content section
- Expands the entire width of the screen
- Common uses: Blog slider, feature boxes, wide images
Body
- The main body of the page
- Expands the entire width of the screen
- Common uses: Main content for the page or template
Base Content
- Below the body section, but above the footer
- Expands the entire width of the screen
- Common uses: this section is not commonly used
-
Create a Template
- Click the Design navigation menu item and then select Page Templates
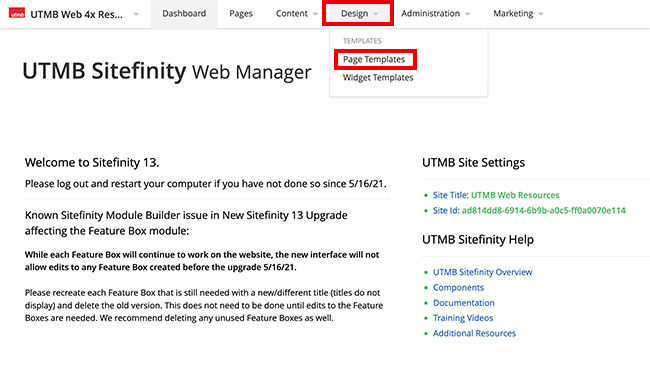
- If the site is new, you will be provided with a 4x template that will be based on the "_UTMBWeb_4x_Hybrid" template. If the site is already established, you may see a list of templates. The default template may be based on the older 3x "UTMB_Master_MVC"
template. Please email Sitefinity@UTMB.EDU to request for the 4x template to be added to your site. Your default template should remain as basic as possible. You can create templates that are based on the default template to customize them for specific needs.
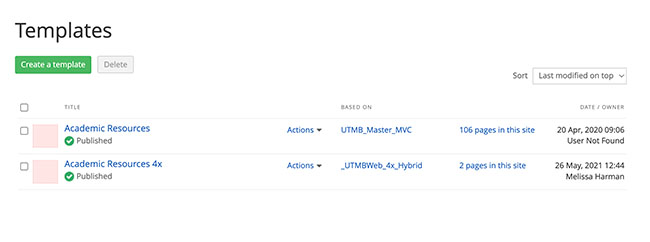
- Click the Create a template button

- Add a template name. The template name should start with the website name.
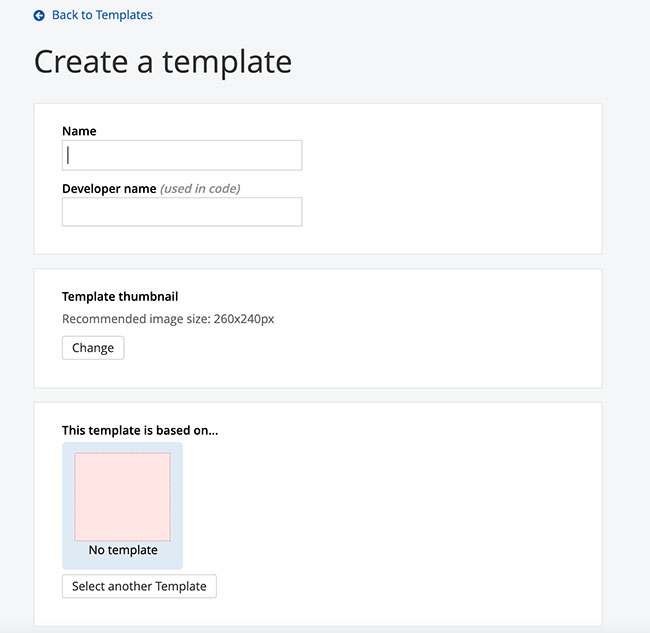
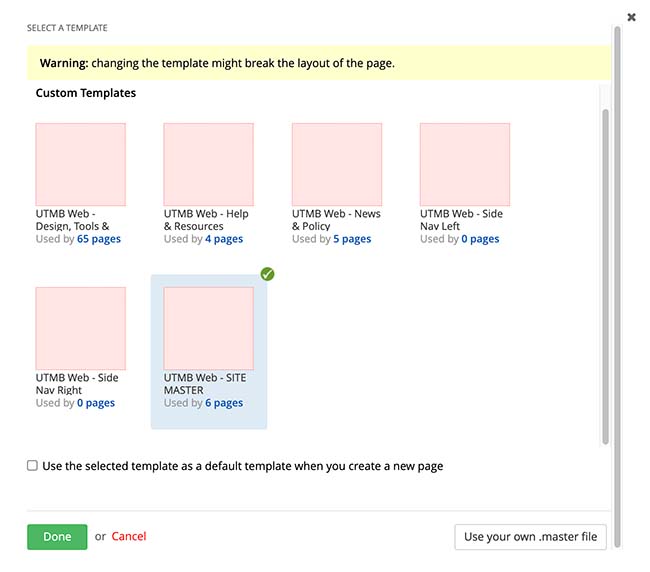
- Click the Select another Template button to select the template that this template should be based on. All templates should be based on another template.
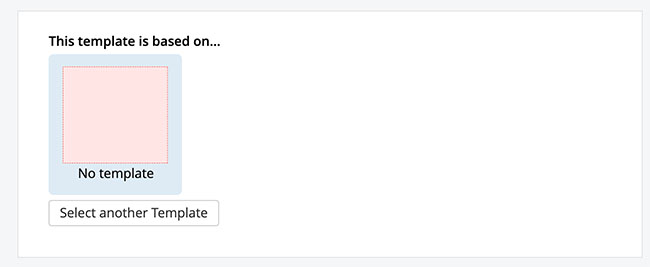
- Select the base template and then click the Done button.
- Click the Create and go to add content button.
- Drag layout elements and/or content widgets onto the various sections.
- Click the Publish or Save Draft button when complete.
- Click the Design navigation menu item and then select Page Templates
Related training videos
Always click the Publish, Save as Draft or Schedule when you are finished editing a template or page to save your work.
Layouts
Adding layouts to a page or template
Layouts help divide a page or template into sections. See examples of the Sitefinity layout options available to add to your site.
-
Adding layout elements
Within the edit view of a page or template, you can easily configure columns and rows to structure your content.
- On the right side menu, click the Layout tab. Then select layout elements to drag-and-drop on to the page.
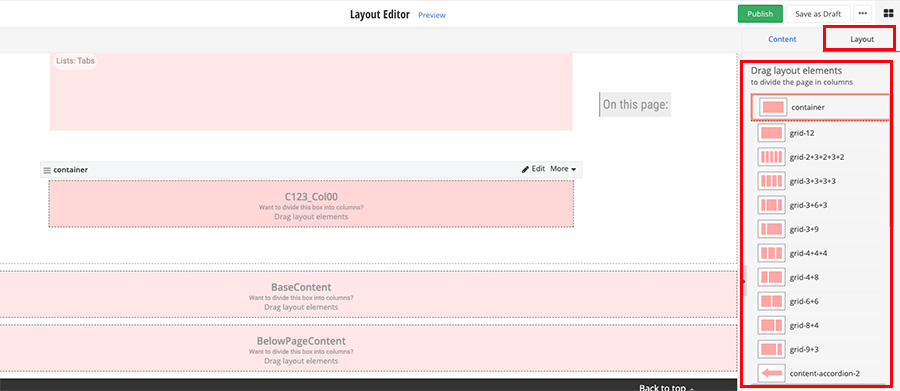
- Learn more about the layout options
- On the right side menu, click the Layout tab. Then select layout elements to drag-and-drop on to the page.
Always click the Publish, Save as Draft or Schedule when you are finished editing a template or page to save your work.