Razuna Image Library
Online Digital Asset Management Solution
What is Razuna?
UTMB offers a digital asset management tool to help maintain brand identity, enhance the visual appearance of our institutional web sites, and provide a robust (but not all-encompassing) online source of vetted and approved images. The resource is designed to serve web and other general applications for the UTMB community.

Basic Razuna User Functions
Razuna Knowledge Base Topics
These topics are relevant to UTMB Employees. Other topics on the site may not apply.
-
Logging In
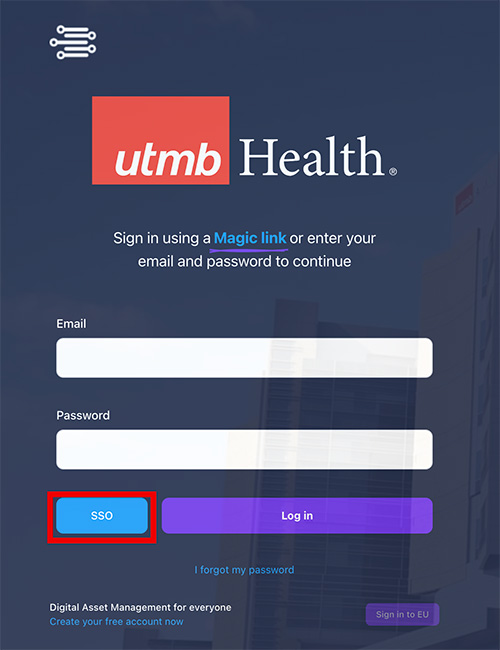
- Visit images.utmb.edu
- Click the blue SSO button. DO NOT enter your username & password on this screen. Logging in with your former Razuna credentials or the "Magic link" feature will not grant you access to the correct environment.
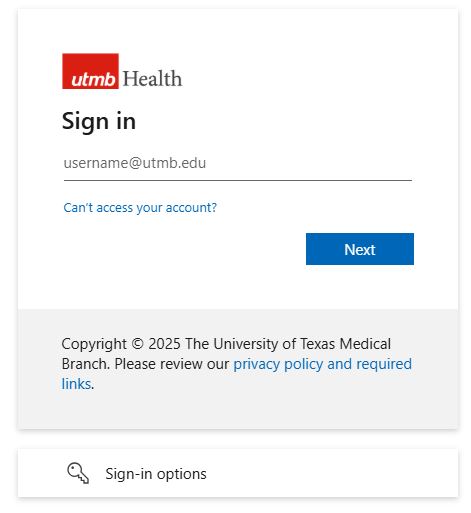
- Enter your UTMB email and password and then click the Sign in button.
-
Finding Files
Use the Search Bar
Type a keyword, name, city, department, etc. into the "Search in the workspace" field at the top of the page. The search will automatically filter the results by the search terms.

-
Downloading Files
Options to Download Individual Files
- Click the cloud icon below the image thumbnail
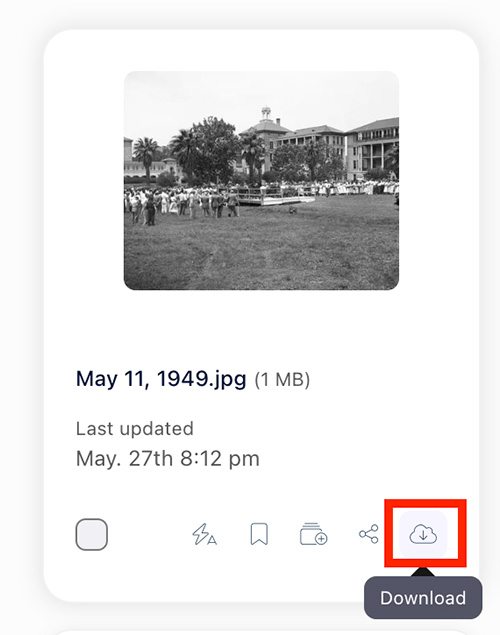
- Click the white space of the file card (not the image thumbnail) or the image title and click the Download original text or Thumbnail text options.
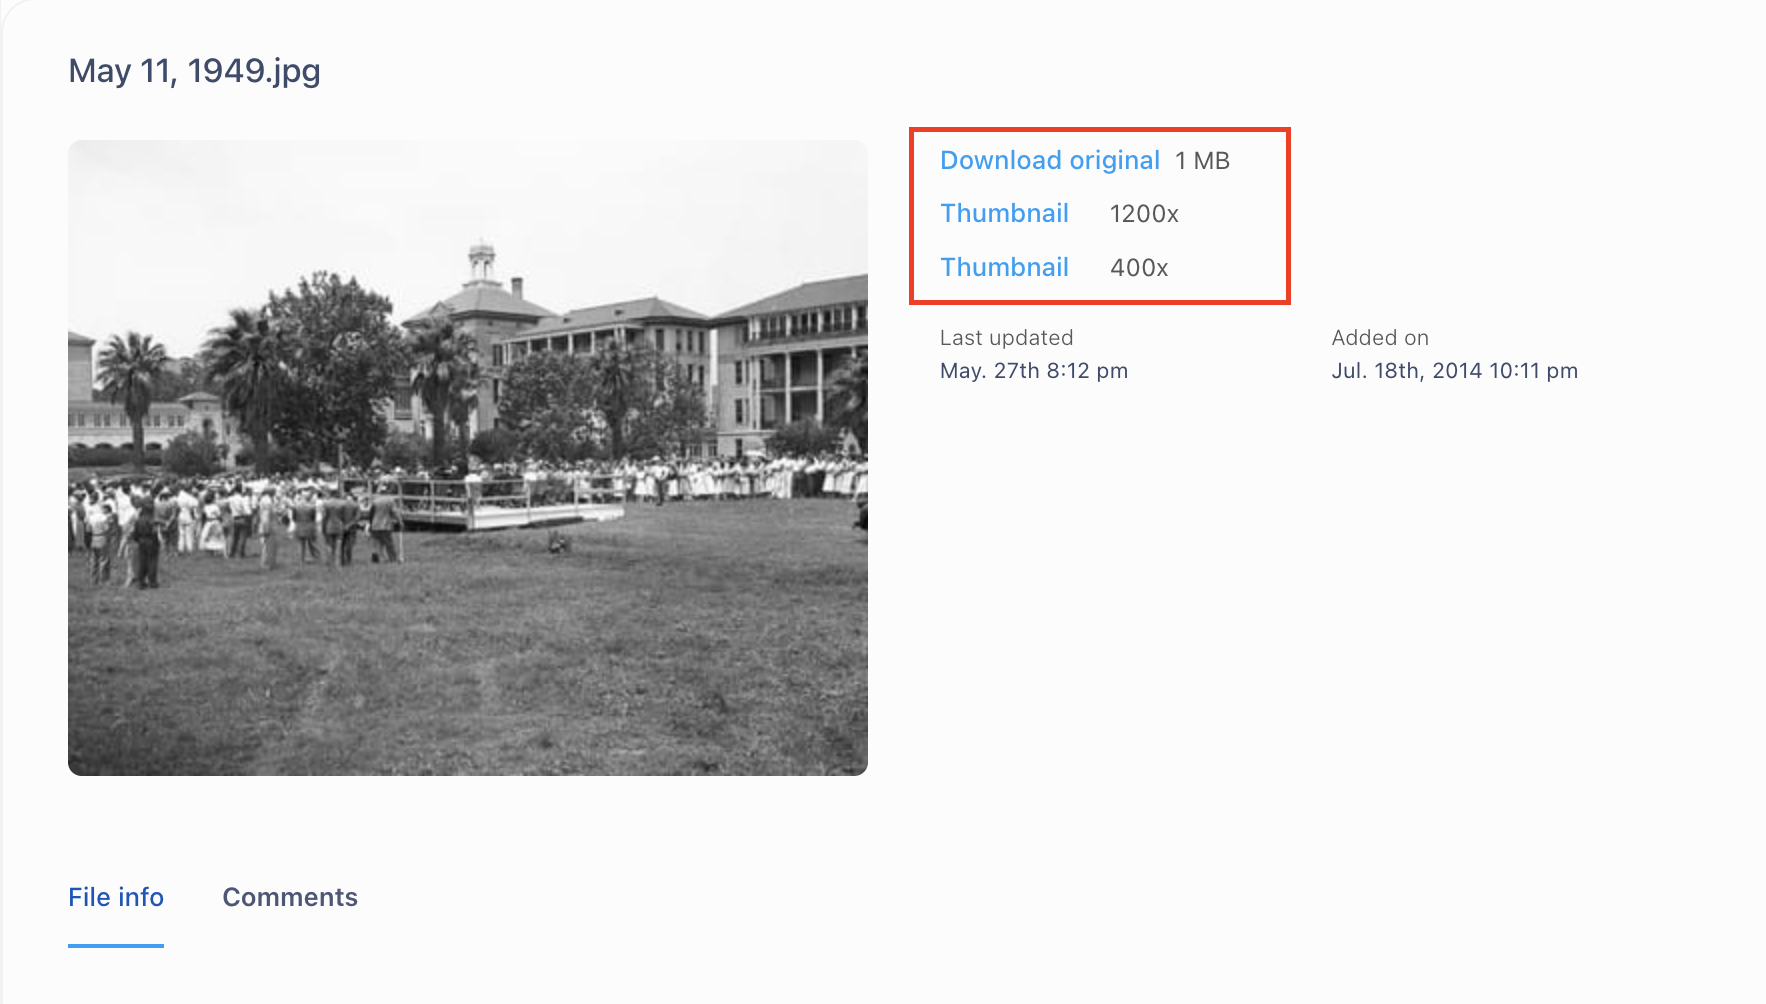
Download Multiple Files in a Folder
- Select the boxes of the files to download
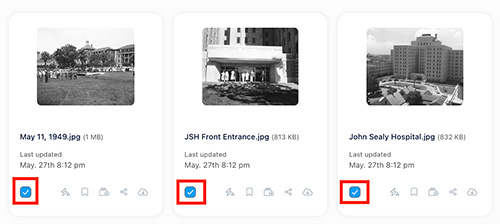
- Click the download option in the pop-up menu

- Click the cloud icon below the image thumbnail
-
Uploading Files
- In the lower right-hand corner of a folder, either drop/paste files or select the browse files text in the file upload box .

- Pay attention to your file name, properties and destination folder; use a descriptive title that will be useful in search.
- DO NOT use Razuna for any files or images containing PHI, other protected, copyrighted or otherwise restricted UTMB content. Any images that include actual patients require a signed media consent form. Razuna is primarily intended for images to be shared publicly and is not a replacement for Sharepoint or OneDrive.
- In the lower right-hand corner of a folder, either drop/paste files or select the browse files text in the file upload box .
-
Create a Collection (organize & share a group of files)
Introduction to Collections
Keeping your files organized across various folders can take time and effort. Collections make gathering all your essential files in one central location easy, simplifying access and management. You can also share collections using a shareable link, and advanced access options enable seamless collaboration among your team.
How to Create a Collection
- On the left side bar, scroll down and select Collections
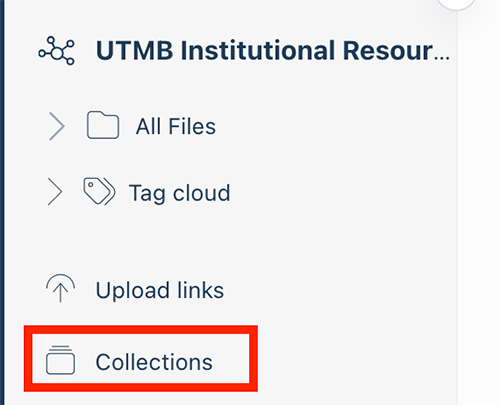
- Click the Create new collection button

- Give your collection a name and then click the Add this collection button
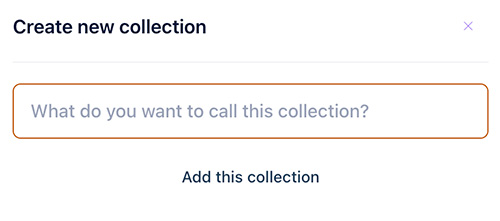
Add files to a Collection
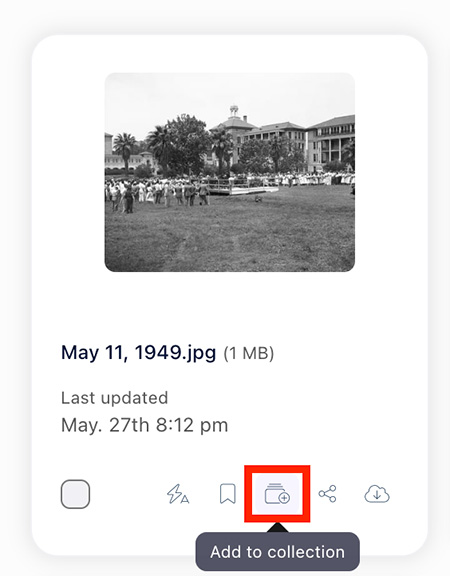
- Click the "add to collection" icon on the file card or check one or more files and adding multiple to the collection.
Share a Collection
By default, a collection is private. If you plan to collaborate on a collection, you must create a shareable link:
- Open the collection you want to share
- Click the "share collection" icon in the upper-right hand corner

- Click the Create a new shareable link button

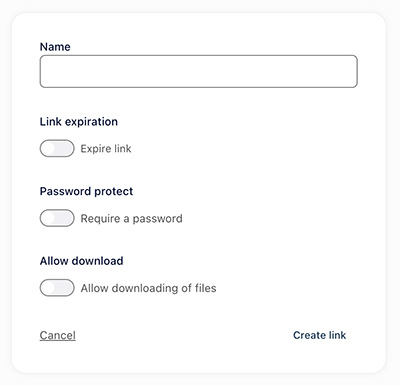
- Give the link a name and adjust the settings as needed
- Click the Create link button
- You can now copy the link to share
- On the left side bar, scroll down and select Collections
-
Direct Download Links
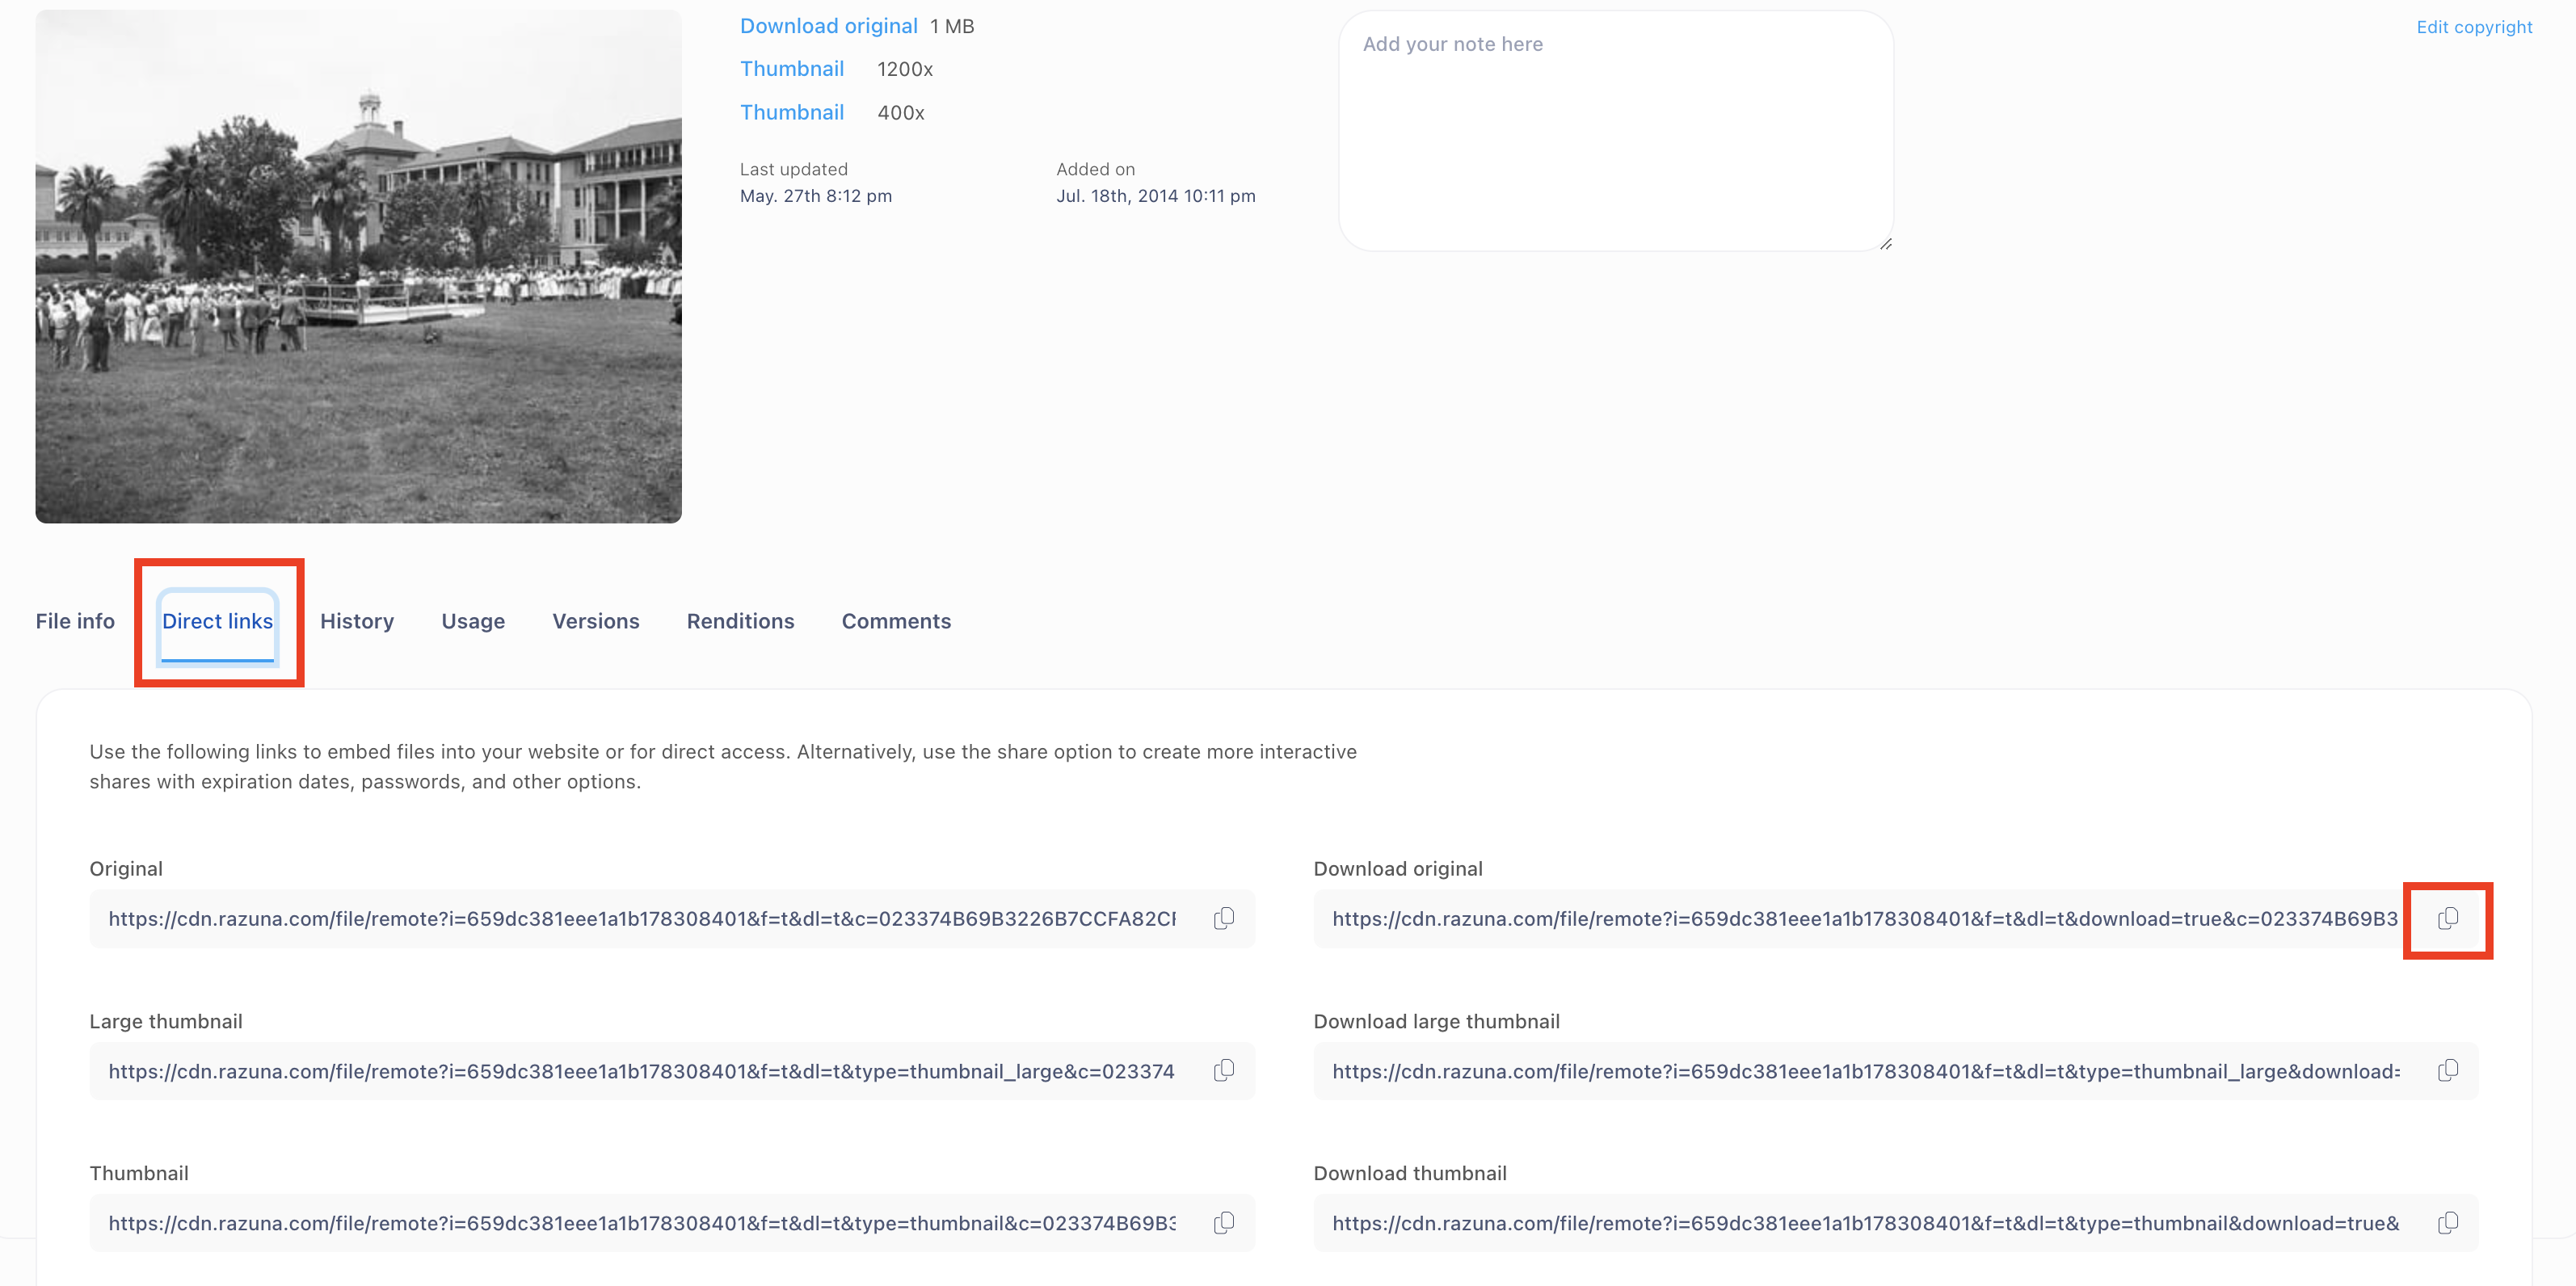
- Click the white space of the file card (not the thumbnail) and click the Direct Links tab.
- Click the "copy" icon next to the Download original link
